Deploy Bliss OS in Proxmox
Deploying a BlissOS VM in Proxmox
To analyze Android app behavior and run mobile applications without needing an extra physical device, I set up BlissOS in a virtual machine. This approach allows for easy resets to a clean state and isolates the environment within a dedicated VLAN to protect the rest of my network.
BlissOS, an open-source Android-based operating system, is well-suited for this use case and can be installed on Proxmox. I referred to Novaspirit Tech for inspiration and followed these steps:
ISO Preparation
- Download the BlissOS 16 ISO and import it into Proxmox.
- Install the necessary libraries on the Proxmox node:
apt install libgl1 libegl1
VM setup
General
Assign an ID and name the VM.
OS
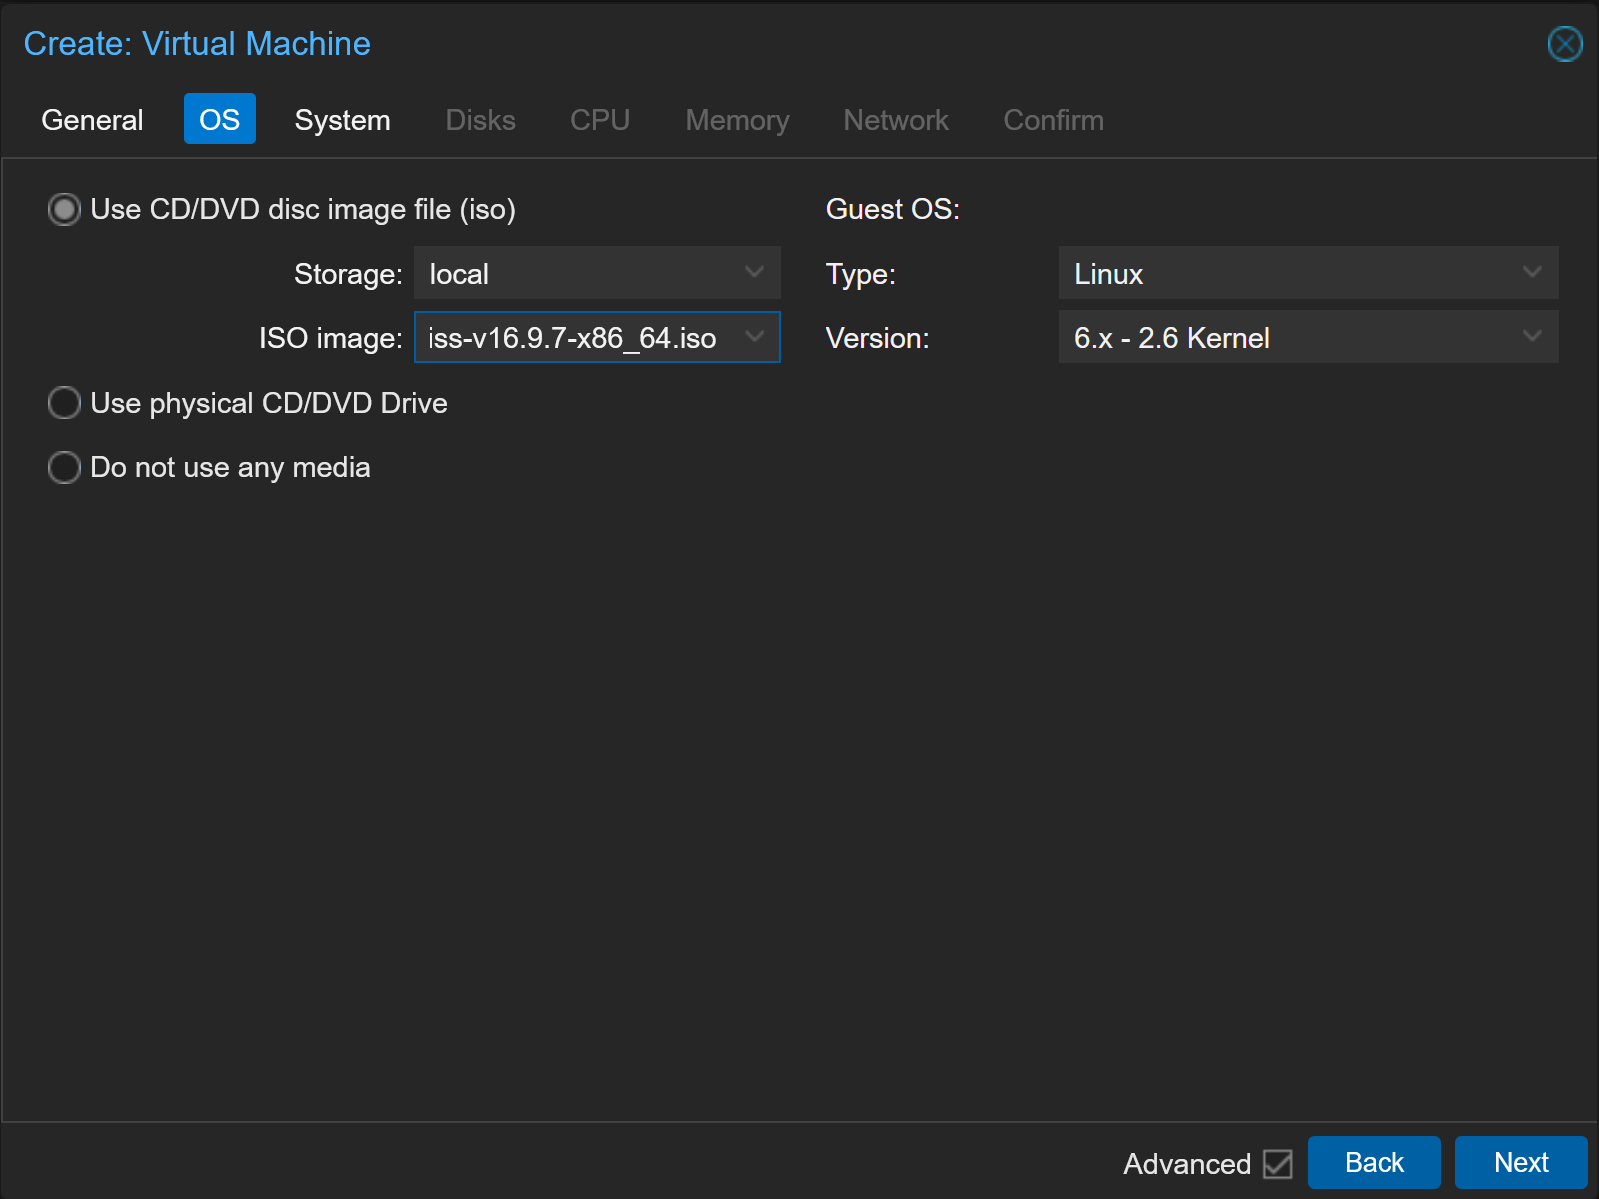
Select the BlissOS ISO, set the Type to Linux, and choose 6.x - 2.6 Kernel as the version.
System
The settings that worked for me where
- Graphics Card: VirtIO-GPU
- Machine: q35
- BIOS: OVMF (UEFI)
- EFI disk
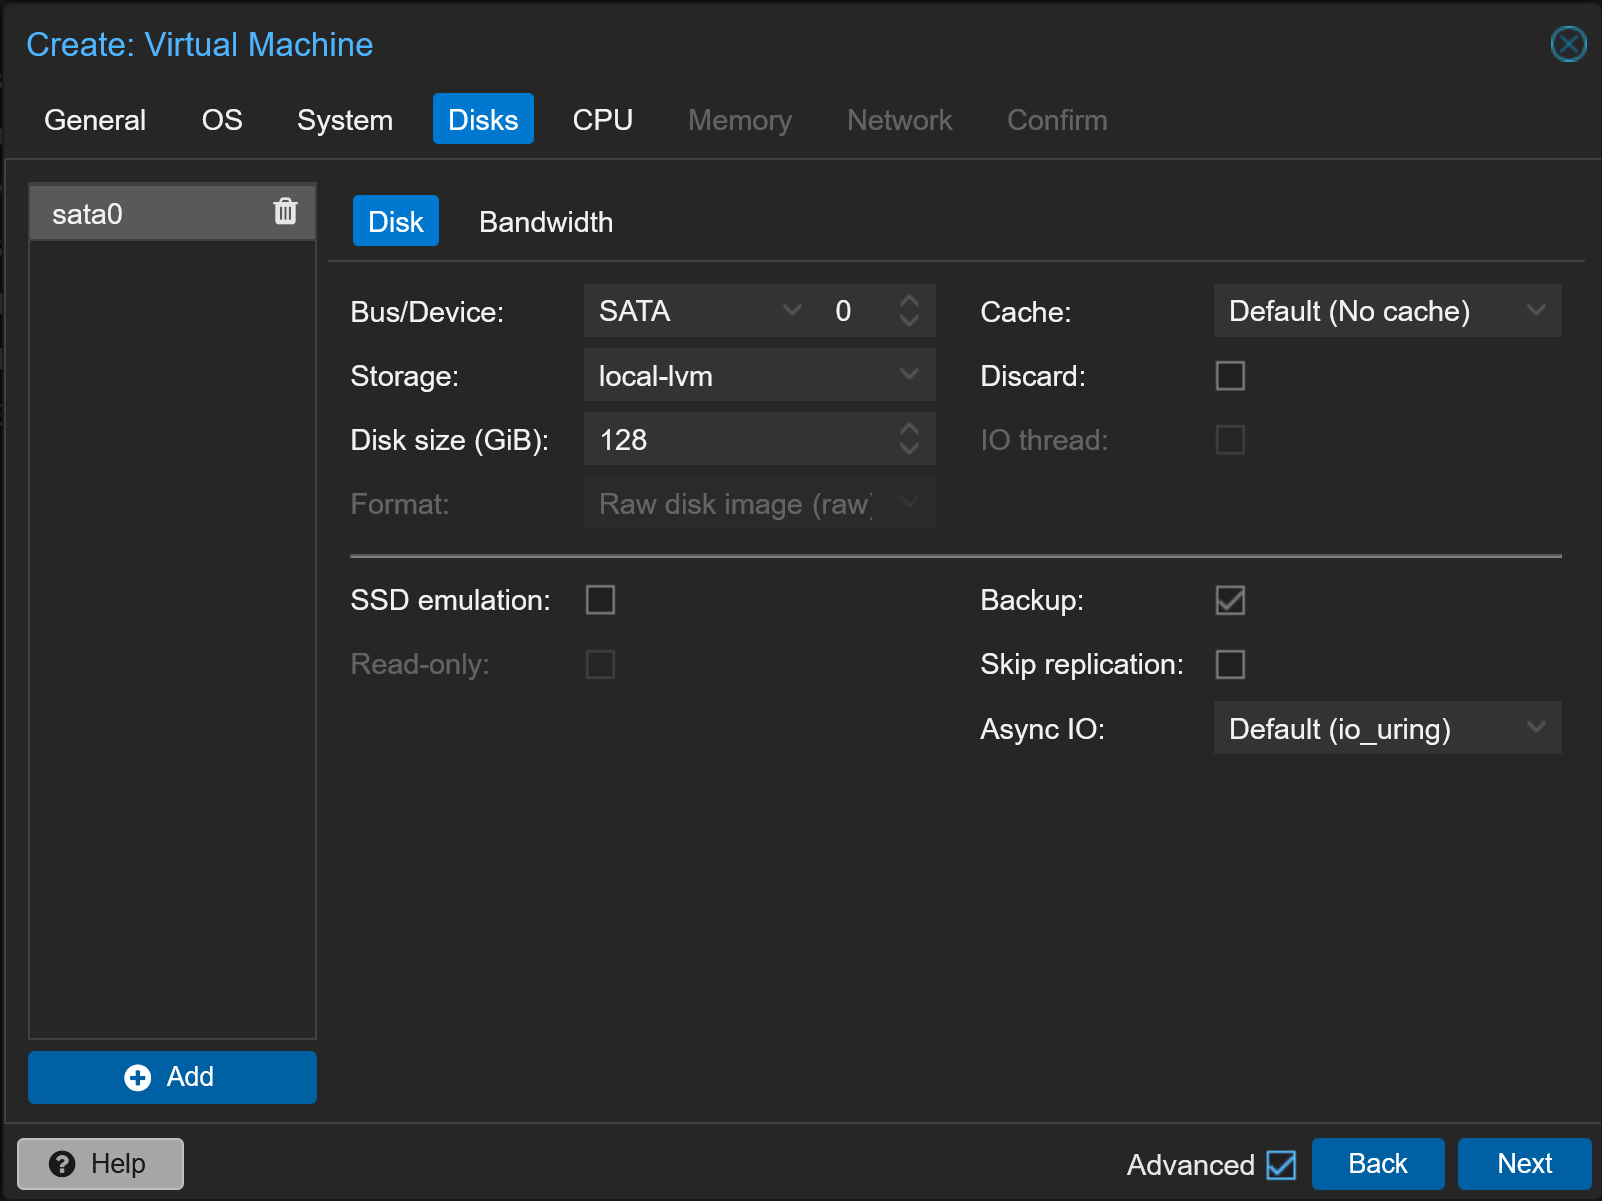
Disks
CPU
Memory
Network
Installing BlissOS
Start the VM and select the installation option.
To start, the partitions needed to be created:  Fig.9 Create partitions
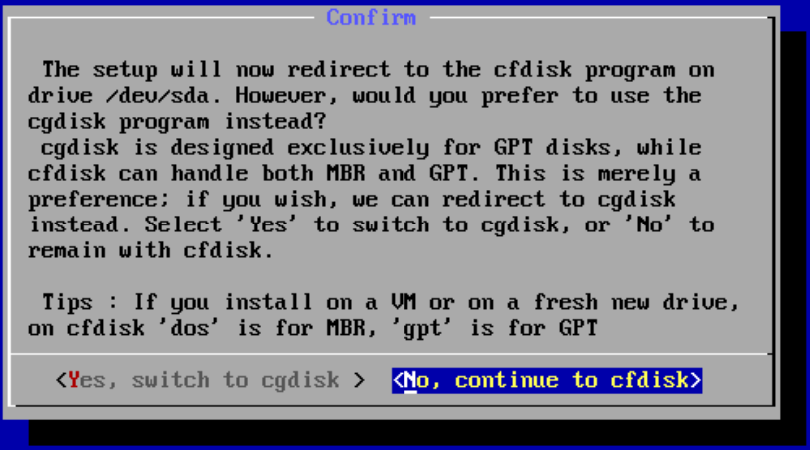
Use cfdisk and select gpt as the label type.
Then select new.  Fig.11 Select new
Create two partitions:
- A 1 GiB EFI partition with type EFI.
- A second partition using the remaining space (e.g., 127 GiB).
 Fig.12 1 GiB
Select free space, and new again and create the second partition, with a partition size of 127G.
After that write and quit:  Fig.13 Write
Format partitions
Format partition 1 (sda1) as FAT32 with the name esp.
Select the partition  Fig.14 Format the first partition
Selected FAT32, leave the default name to esp and select yes to format the partition.
Format partition 2 (sda2) as ext4 with the name BlissOS.
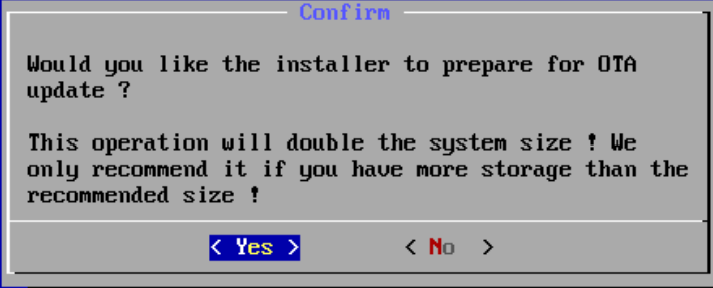
Enable OTA updates and install Grub2 as the bootloader.
Reboot and Configure BlissOS
After installation, reboot the VM. Once BlissOS starts, follow the setup steps provided by the OS.
Play Store
To enable the Play Store, activate it within BlissOS. For verification, I used a prepaid SIM card to obtain the activation code.
This setup within Proxmox provides a versatile, isolated environment for Android app testing and exploration. Check out the BlissOS website for more details!
Taskbar
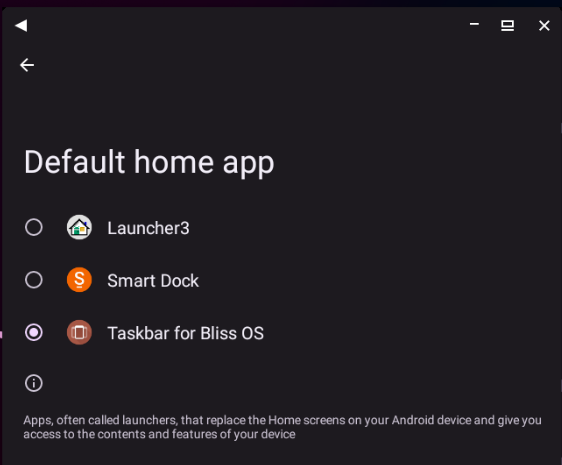
While working in BlissOS via the Console, I found that some applications rotate the view, leaving them unable to control. To fix this I adjusted the Taskbar settings by going into Settings -> Apps -> Default apps -> Home app. There I selected Taskbar for Bliss OS.
